
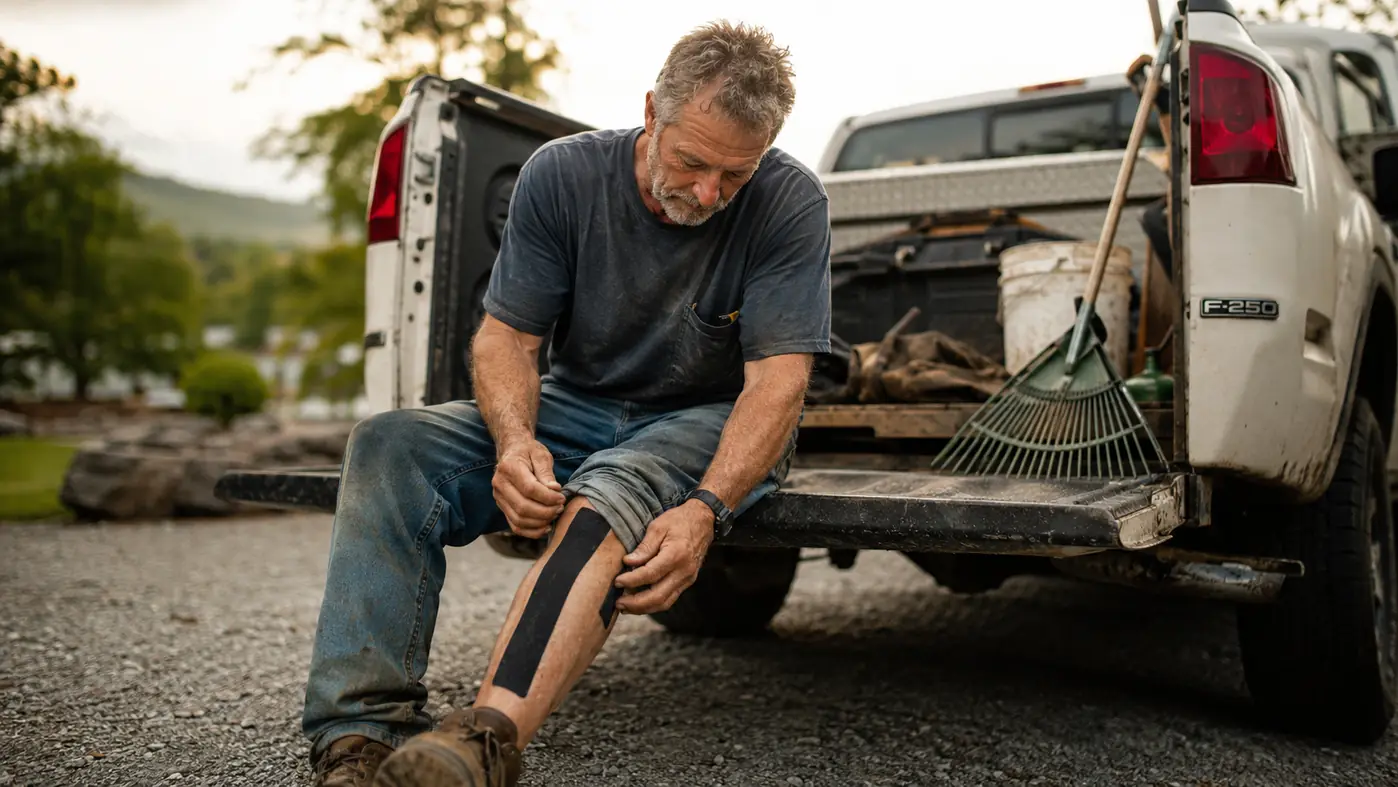
My shin splints do not come from running. I want to get that out of the way early because most articles on this topic assume you just came off a half marathon. Mine come from eight or nine hours a day on concrete driveways, paver patios, and packed gravel, in steel-toe boots, hauling stone and pushing a loaded wheelbarrow. By the third day of a hardscape job, the front of my shins ache in a way that has nothing to do with soreness from a workout. It is a deep, bruised feeling right along the bone, and it used to shut down my evening lifts entirely.
I remember the week it got bad enough to matter. We were pouring a patio base for a client off Signal Mountain Road, three straight days of tamping gravel on a slope, and by Thursday I was limping into the house so obviously that Renata asked me straight out what I'd done to myself. Nothing dramatic, I told her. Just the job.
I started taping my shins with KT Tape about a year ago after my training partner Odell showed me the technique he used for his own ankle. It took me four or five tries to stop wasting strips before I had a method that actually held through a full workday in boots. Below is exactly what I do now, in order, including the parts I got wrong the first few times.
Stop taping blind. Here's the tape I actually use.
I've gone through more than one brand of kinesiology tape since my knee started complaining on ladder days. KT Tape is the one that survives sweat, boot friction, and a full shift on concrete without curling at the edges by lunch.
Amazon Check Today's Price on Amazon →Step 1: Clean and dry the skin before you even open the tape
This is the step I used to skip, and it cost me. If your shins have any lotion, sunscreen, or the morning's shower residue on them, KT Tape will lift at the edges within an hour. I wipe my shins down with a dry towel or a rubbing alcohol pad before every application, then I let them air dry for a full minute. If I have noticeable leg hair, I trim it down with clippers first. I do not shave it bare, just short enough that the adhesive can grab skin instead of hair.
I also do this the night before a hardscape day if I know I'll be on my feet on concrete for ten hours straight. Applying it fresh in the morning, on dry, prepped skin, is the single biggest difference between tape that lasts my whole shift and tape I'm re-sticking by 2pm. The first month I skipped this step entirely and blamed the tape itself for peeling, which wasn't fair to the product at all.
Step 2: Cut and shape your strips before you touch your leg
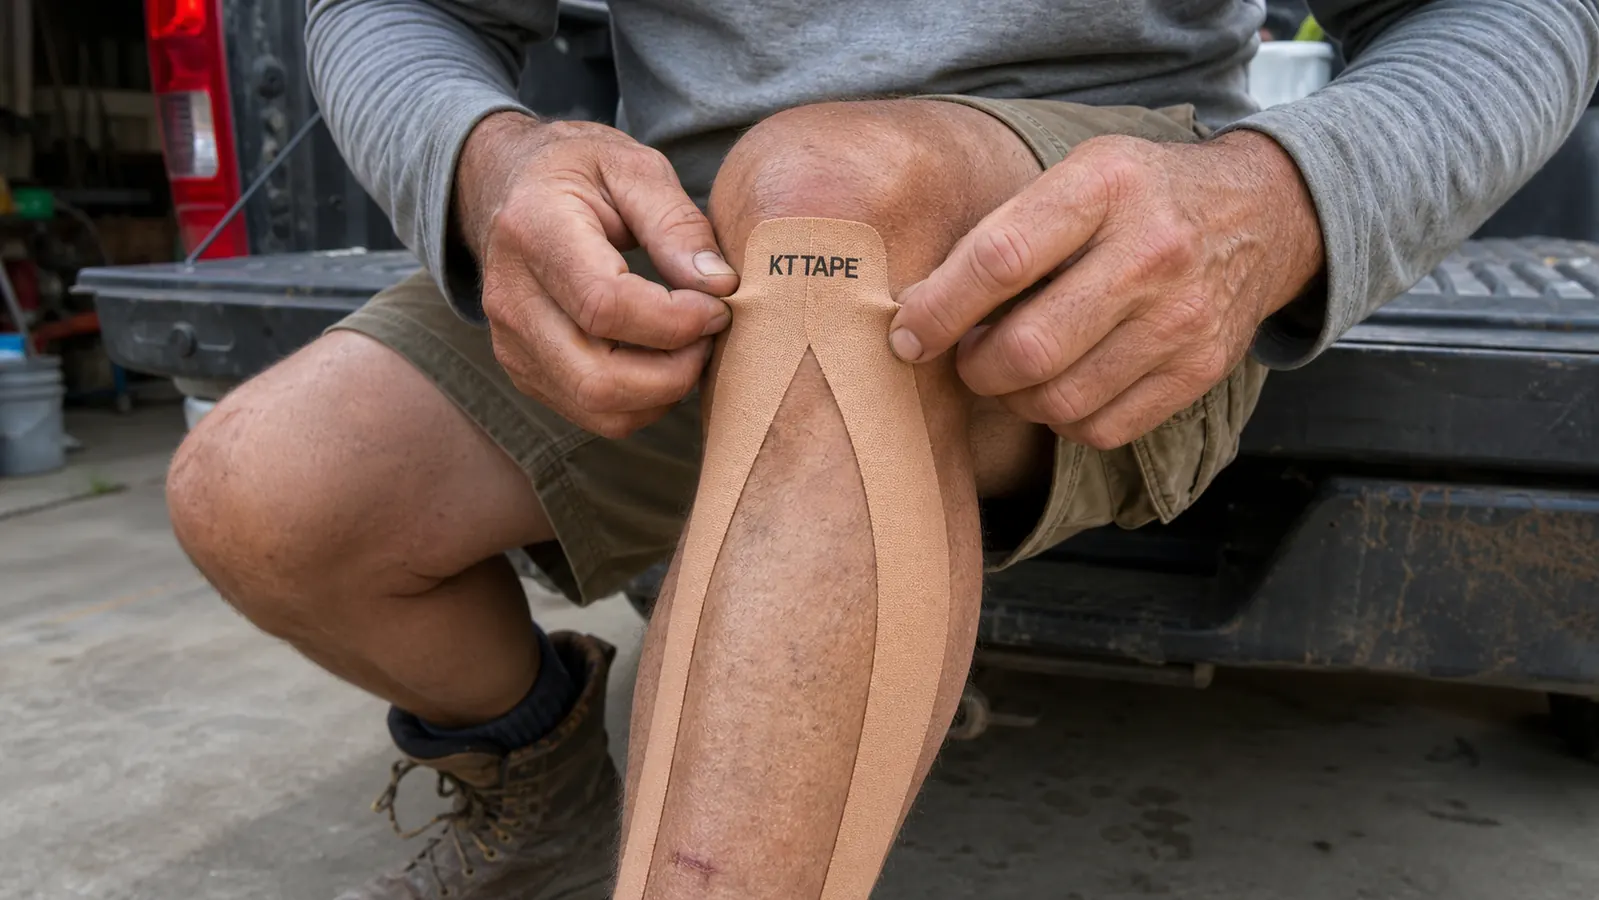
For shin splints I use a Y-strip, not a straight I-strip. I measure from just below my kneecap down to about an inch above my ankle bone, which for me runs close to the precut 10-inch length KT Tape ships with. I leave the top two or three inches uncut as the anchor, then split the rest of the strip lengthwise into two tails, each about half an inch wide. Rounding the corners of each tail with scissors before you peel the backing matters more than it sounds, sharp corners are exactly where the tape starts peeling first on a sweaty day.
I also tear a small notch in the paper backing at the anchor point before I ever touch adhesive to skin. That way I can peel just the anchor tab off first and place it precisely, instead of fighting a full strip of exposed adhesive while standing in a driveway with dusty hands. On days when both shins are bothering me, which happens more on slope work than flat patio jobs, I'll cut two full strips at once so I'm not stopping mid-application to hunt down scissors again. My legs are on the thicker side from years of manual labor, so I've also found the standard two-inch width tracks better for me than trying to squeeze a narrower strip down a wider shin muscle.
Step 3: Set the anchor with zero stretch, then lay the tails down with light stretch
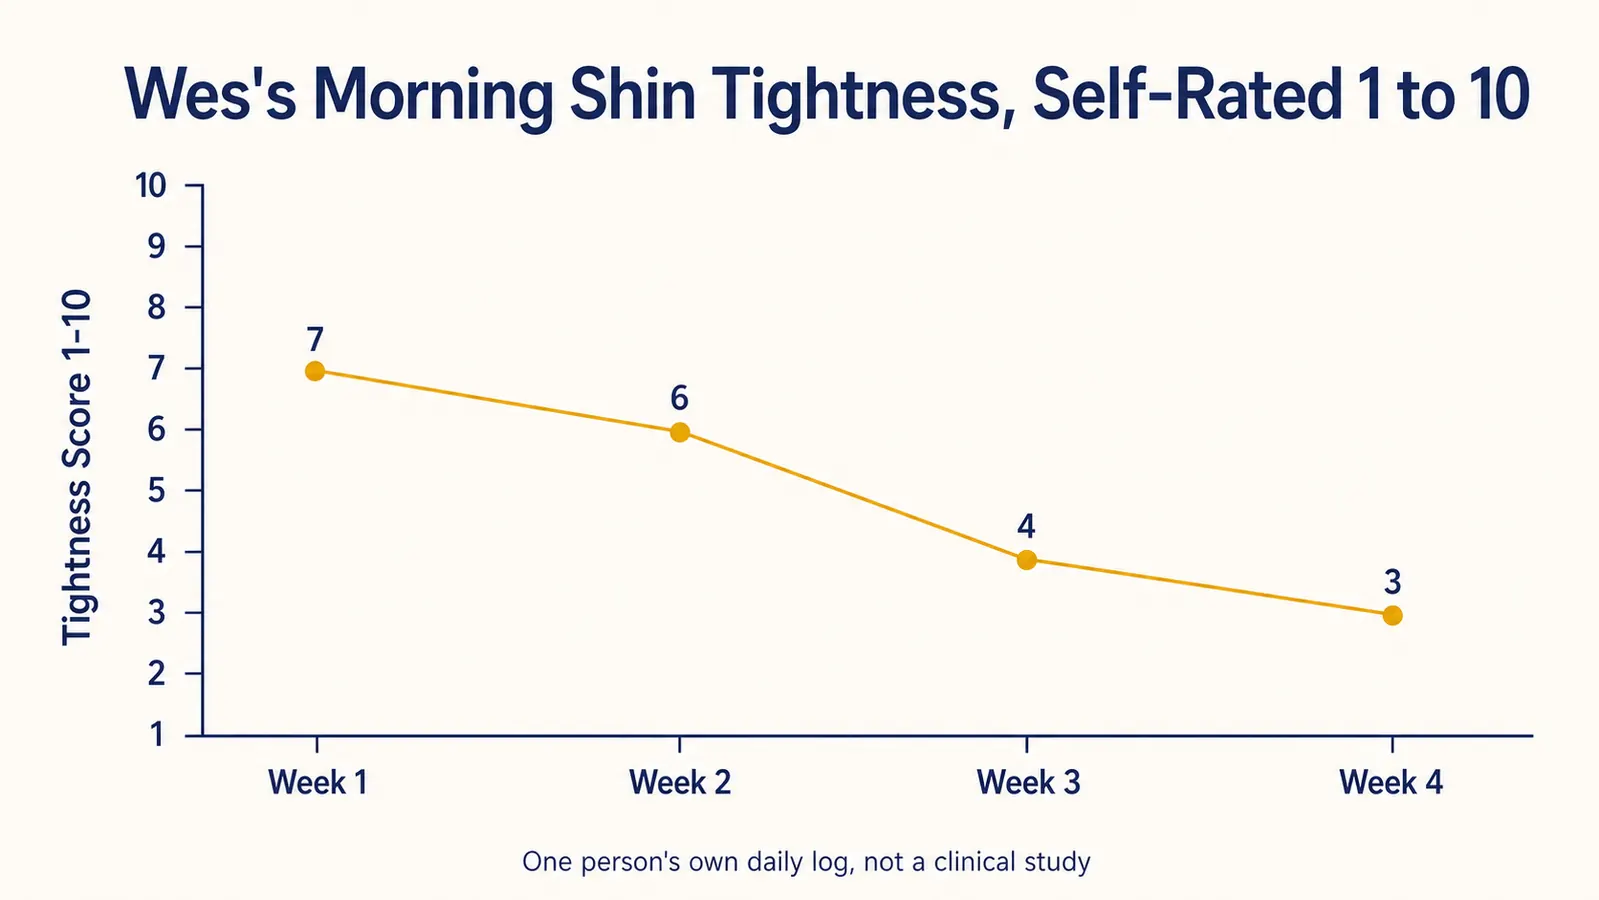
I sit on the truck tailgate with my leg extended and slightly bent at the knee, which is close to the position your shin muscle is in when it's under load. The anchor tab goes on with no stretch at all, right below the kneecap, just pressed flat. Then I run each tail down either side of the shin bone, following the muscle line rather than laying it flat down the center of the bone itself. This part matters. Taping straight over the shin bone does very little. The muscle that actually gets irritated with shin splints, the tibialis anterior, sits just to the outside of the bone, and that's where the tails need to track.
For stretch, I use somewhere between 25 and 50 percent, which for KT Tape means pulling the tail out to roughly a quarter to half again its resting length as I lay it down, then letting the last inch or two land with no stretch again at the ankle end. Too much stretch and the tape pulls the skin uncomfortably tight by hour three. Too little and it just sits there decoratively and does nothing when I'm pushing a wheelbarrow up an incline. On my worst weeks I've added a second, shorter strip running horizontally across the middle of the shin, almost like a support brace crossing the two vertical tails, and that extra bit of tension is what finally got me through a full week of slope work without the ache creeping back by Wednesday.
Step 4: Rub the tape to activate the adhesive before you put your sock and boot back on
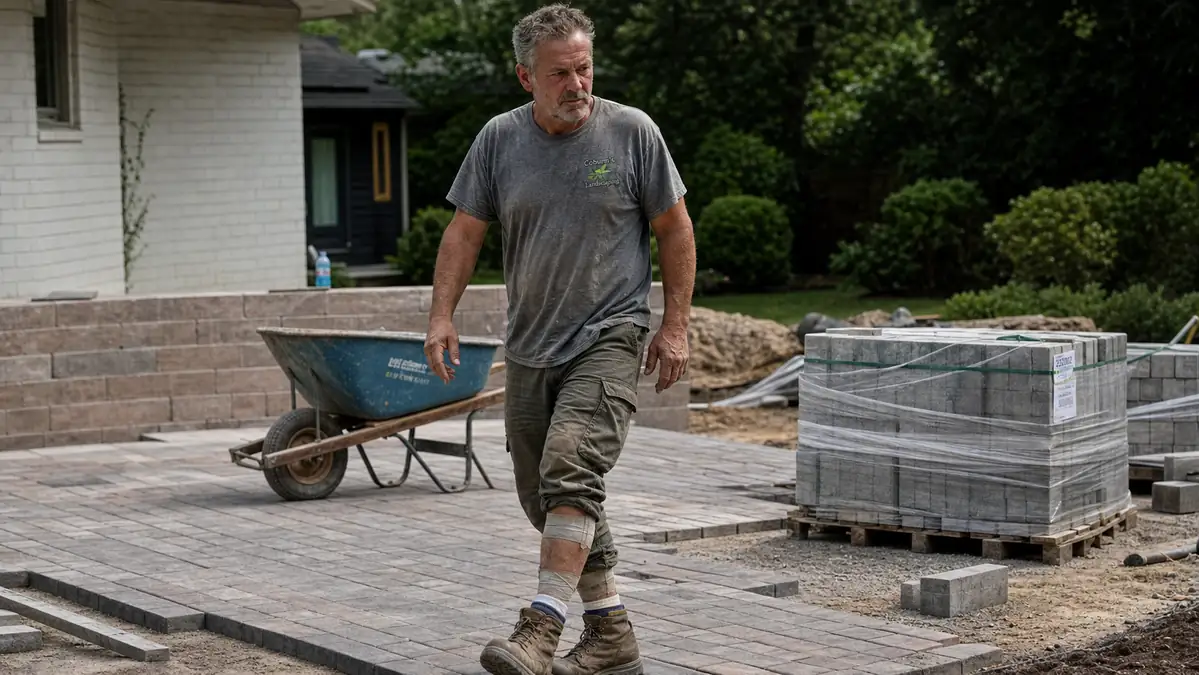
KT Tape's adhesive is heat-activated, which I did not know the first month I used it. I would apply it and go straight back to work, and I'd have edges curling within two hours. Now I rub each strip firmly with my palm for a good 15 to 20 seconds after it's laid down, which generates enough friction heat to properly set the glue. I do this before I put my sock back on, not after, because trying to smooth tape through a sock does nothing.
One more thing I learned from a bad afternoon on a patio job, if your boot rubs directly against the top anchor point, back that anchor up another half inch higher so the boot's edge isn't sawing at it all day. My boots sit higher on the ankle than a running shoe would, which changes where the tape needs clearance. On the coldest, dampest mornings we get down in the valley here, I also give the tape an extra ten seconds of rubbing since the adhesive sets slower in the cold, something I only figured out after a January job where three strips came loose before lunch.
Step 5: Know how long to leave it on and when to redo it
KT Tape is rated for multiple days of wear, and on a normal week I leave a strip on for two to three days before I peel it off and let the skin breathe for an evening. On a heavy hardscape stretch, sweating through boots for ten hours straight, I usually redo it daily because the adhesive just doesn't survive that much moisture and friction as well. I've also learned to peel it off slowly in the direction of hair growth, in the shower with warm water running over it, which saves me from ripping half my leg hair out at once.
If the skin under the tape ever looks red, itchy, or irritated rather than just adhesive residue, I take a few days off from taping that spot entirely. That's a skin reaction, not something more tape fixes, and I'd rather deal with a plain ache than a rash on top of it. I keep a small tin of extra anchor strips and a mini roll of KT Tape in the truck's center console now, because the one time I actually needed a mid-day retape was the one time I hadn't packed any.
I've also started building in a genuine rest day when a job allows it, usually a Sunday where I stay off concrete entirely and leave the tape off so my skin and the muscle both get a break. Taping every single day of the year isn't the goal. It's a tool for getting through a hard stretch of jobs without the ache turning into something worse, not a permanent substitute for actually easing off the leg now and then.
What Else Helps
Taping alone was never the whole fix for me. My PT, Dana, was the one who pointed out that my calves were tight enough to be pulling on the front of my shin all day, which is common for guys who spend hours on concrete in stiff boots. I added five minutes of calf stretching most mornings, and some weeks I've used a slant board for that since a board holds the angle for me without thinking about form. I also swapped the factory insoles in my work boots for a firmer arch support after Dana pointed out how much a worn-out insole on concrete contributes to shin load. I've written up the full rundown of why taping and mobility work together in this piece on kinesiology tape and recovery if you want the deeper reasoning. None of it replaces seeing an actual doctor or physical therapist if the pain is sharp, one-sided on the bone itself, or getting worse week over week, that can be a stress fracture instead of a garden-variety shin splint, and tape will not fix that.
A short warmup before the first load-in of the day matters more than I ever gave it credit for. A minute or two of ankle circles and calf raises before I start hauling stone wakes the muscle up before it gets asked to absorb impact on concrete all day, and I've noticed the tape holds better and the ache shows up later in the shift on mornings when I bother to do it.
I stopped thinking of KT Tape as a magic patch and started thinking of it as a reminder strip, something that nags my leg to move right when I'm tired and sloppy by hour eight.
I compared this brand directly against a rival roll Odell had lying around in his garage, and the full breakdown is in my side-by-side writeup. If you want the unfiltered version of what annoyed me about KT Tape after a full year, including the stuff nobody puts in a five-star review, that's in my honest review. And if you're curious how this same taping approach played out for my knee instead of my shin, I told that story in this piece about getting back up ladders.
The tape that made it through a full hardscape season without curling.
If your shins ache from a full day standing on concrete instead of a training log, grab the same rolls of KT Tape I keep in the truck and follow the steps above.
Amazon Check Today's Price on Amazon →